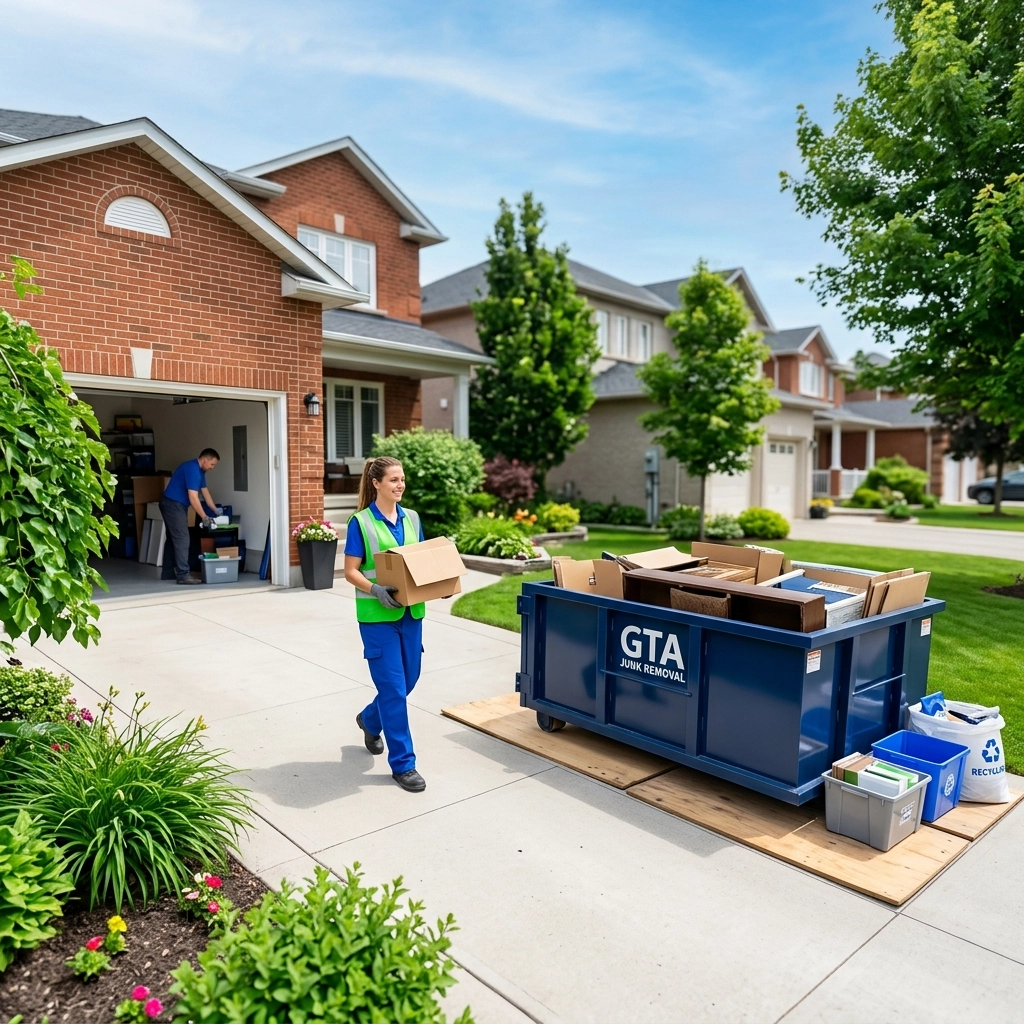
Let’s be honest: basements in the Greater Toronto Area often become the "land of forgotten things." Whether you live in a detached home in Etobicoke or a semi in North York, that lower level tends to collect old holiday decor, half-finished renovation supplies, and boxes that haven't been opened since you moved in.
Taking on a GTA basement cleanout is a big job, but it’s one of the most rewarding home projects you can do. Not only does it reclaim valuable square footage, but it also removes fire hazards and hidden allergens. If you’re feeling overwhelmed, don't worry. This guide will walk you through the process from the first box to the final sweep.
Phase 1: The Assessment and Strategy
Before you pick up a single box, you need a plan. Walking into a cluttered basement without a strategy is the quickest way to burn out by lunch.
Evaluate the Scope
Start with a walkthrough. Is your basement a light "dusting of clutter," or is it packed floor-to-ceiling? For most GTA homeowners, a thorough cleanout takes at least two full weekends. Be realistic about your time. If you have a deadline: like a real estate listing or a scheduled renovation: start at least three weeks in advance.
Gather Your Supplies
You’ll need the right gear to stay safe and efficient. We recommend:
- Heavy-duty contractor bags.
- Work gloves and N95 masks (basements can be incredibly dusty).
- Packing tape and permanent markers.
- A "staging area" (clear a space on the driveway or in the garage).
Book Your Disposal Solution Early
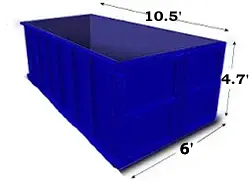
One of the biggest junk removal tips is to have your disposal method ready before you start tossing items. For a standard basement, a 10-yard bin recommendation is usually the "sweet spot." It’s large enough to hold old furniture and boxes but compact enough to fit in a narrow Toronto driveway without blocking the sidewalk.
Phase 2: The Sorting System
The secret to a successful cleanout is the "Four-Pile Method." As you move through the basement, every single item must be categorized immediately.
1. Keep
Only keep items you have used in the last year or items with genuine sentimental value. If you’re keeping it, it needs a designated home: not just a different corner of the basement.
2. Donate and Sell
The GTA has fantastic resources for second-hand items. Organizations in Mississauga, Vaughan, and North York often accept gently used furniture and clothing. If you have high-value items, consider listing them on Facebook Marketplace a week before your cleanout starts.
3. Recycle
Cardboard, metal scraps, and certain plastics shouldn't end up in a landfill. Separate these to be dropped off at a local GTA community recycling centre. For more information on where waste goes, check out our guide on eco-friendly junk removal.
4. Trash
This is where your bin rental comes in. Broken furniture, mouldy boxes, old carpets, and general debris go here. Having a bin on-site means you aren't piling "trash" in your living room or garage, keeping your home breathable while you work.
Phase 3: Managing the Heavy Lifting
Basements often hide the heaviest items in the house: old washing machines, cast-iron sinks, or stacks of leftover flooring from a 1990s renovation.
Use the Buddy System
Never try to move heavy furniture up narrow basement stairs alone. If you’re tackling an estate cleanout, the volume of heavy items can be particularly high.
Safety First
When sorting through old storage, be mindful of "basement surprises." Wear thick-soled shoes to protect against stray nails and keep the area well-lit. If you find old paint cans or chemicals, remember that these are considered hazardous waste and cannot go into a standard rental bin. Most GTA municipalities have specific drop-off days for "orange drop" materials.

Phase 4: Why a Bin Rental Makes Sense for the GTA
Many homeowners think they can manage a basement cleanout with just curb-side pickup. However, Toronto and the surrounding municipalities have strict limits on how many bags or bulk items you can put out.
The 10-Yard Bin Advantage
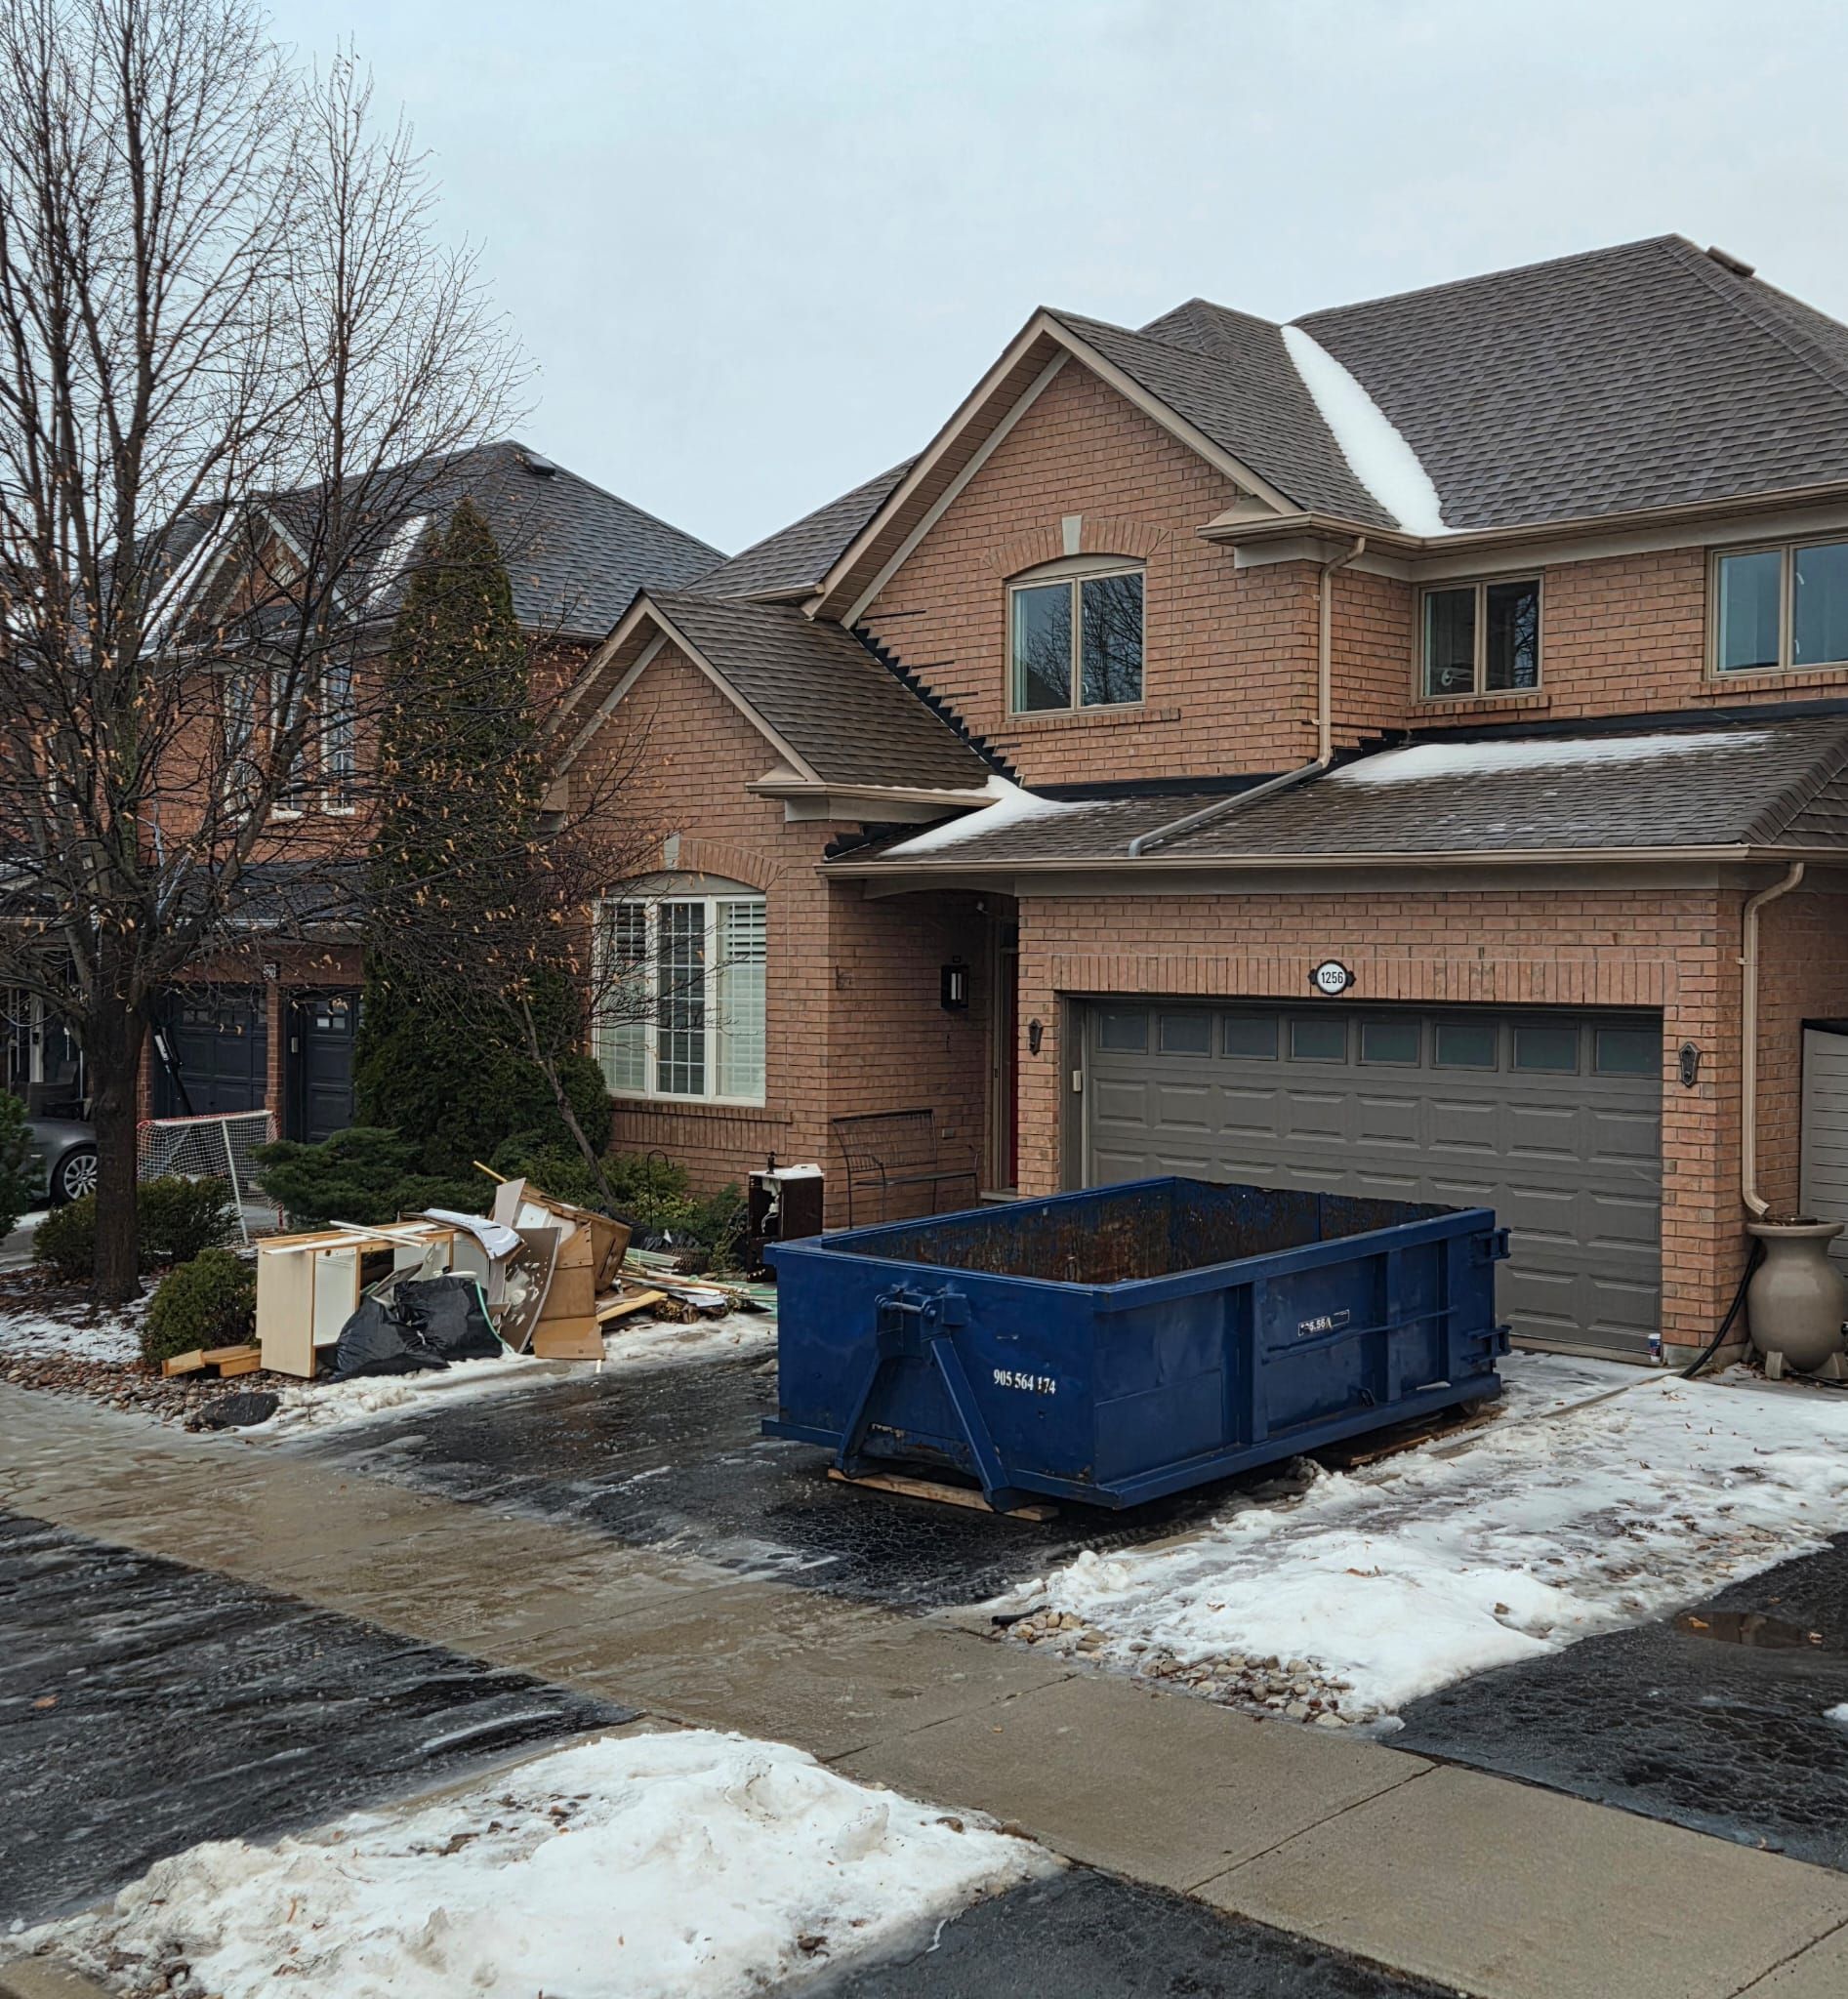
For most residential projects in areas like Brampton or Oakville, the 10-yard bin is the perfect companion. It handles the volume of a medium-sized basement easily. At Bin4U.ca, our bins are designed to be driveway-safe, meaning we use protective measures to ensure your asphalt or interlocking stone isn't damaged during the drop-off or pick-up process.
Same-Day Delivery for Last-Minute Motivation
Sometimes the urge to clean hits you out of nowhere on a Tuesday morning. We offer same-day bin rental for last-minute messes, so you can capitalize on that productivity before it fades.
Phase 5: Area-Specific Tips for GTA Residents
Depending on where you live in the GTA, your cleanout might have different requirements:
- North York & Etobicoke: Driveways can be narrow and street parking is often restricted. When booking your bin, let us know if space is tight so we can send a driver experienced in navigating "tight-squeeze" residential streets.
- Mississauga & Brampton: Larger suburban homes often have finished basements that require more protection during a cleanout to avoid scuffing walls and floors.
- Vaughan: If you’re dealing with a lot of construction debris from a basement renovation, make sure you choose a bin service that understands weight limits and flat-rate pricing. You can read more in our Vaughan disposal guide.
Phase 6: The Final Deep Clean
Once the clutter is out and the bin is filled, you’re left with a blank canvas. But don't bring the "Keep" items back in just yet.
- Vacuum Everything: Use a shop-vac to get into the corners where dust and cobwebs have lived for years.
- Check for Moisture: Now that the walls are clear, look for signs of efflorescence (white powdery stains) or water marks. Catching a leak now saves you thousands later.
- Sanitize: Wipe down any remaining shelving units or hard surfaces.
- Air it Out: If the weather permits, open any basement windows to get fresh air circulating.
Common Mistakes to Avoid
To ensure your GTA basement cleanout goes smoothly, steer clear of these common pitfalls:
- Underestimating the Volume: It’s almost a universal law that there is more junk in a basement than it appears. If you’re unsure about size, it’s often better to go one size up than to have an overflowing bin. Check out our bin size guide for help.
- Mixing Prohibited Items: As mentioned, chemicals, tires, and batteries are a no-go. Putting these in a bin can result in additional fees or the bin being left behind until they are removed.
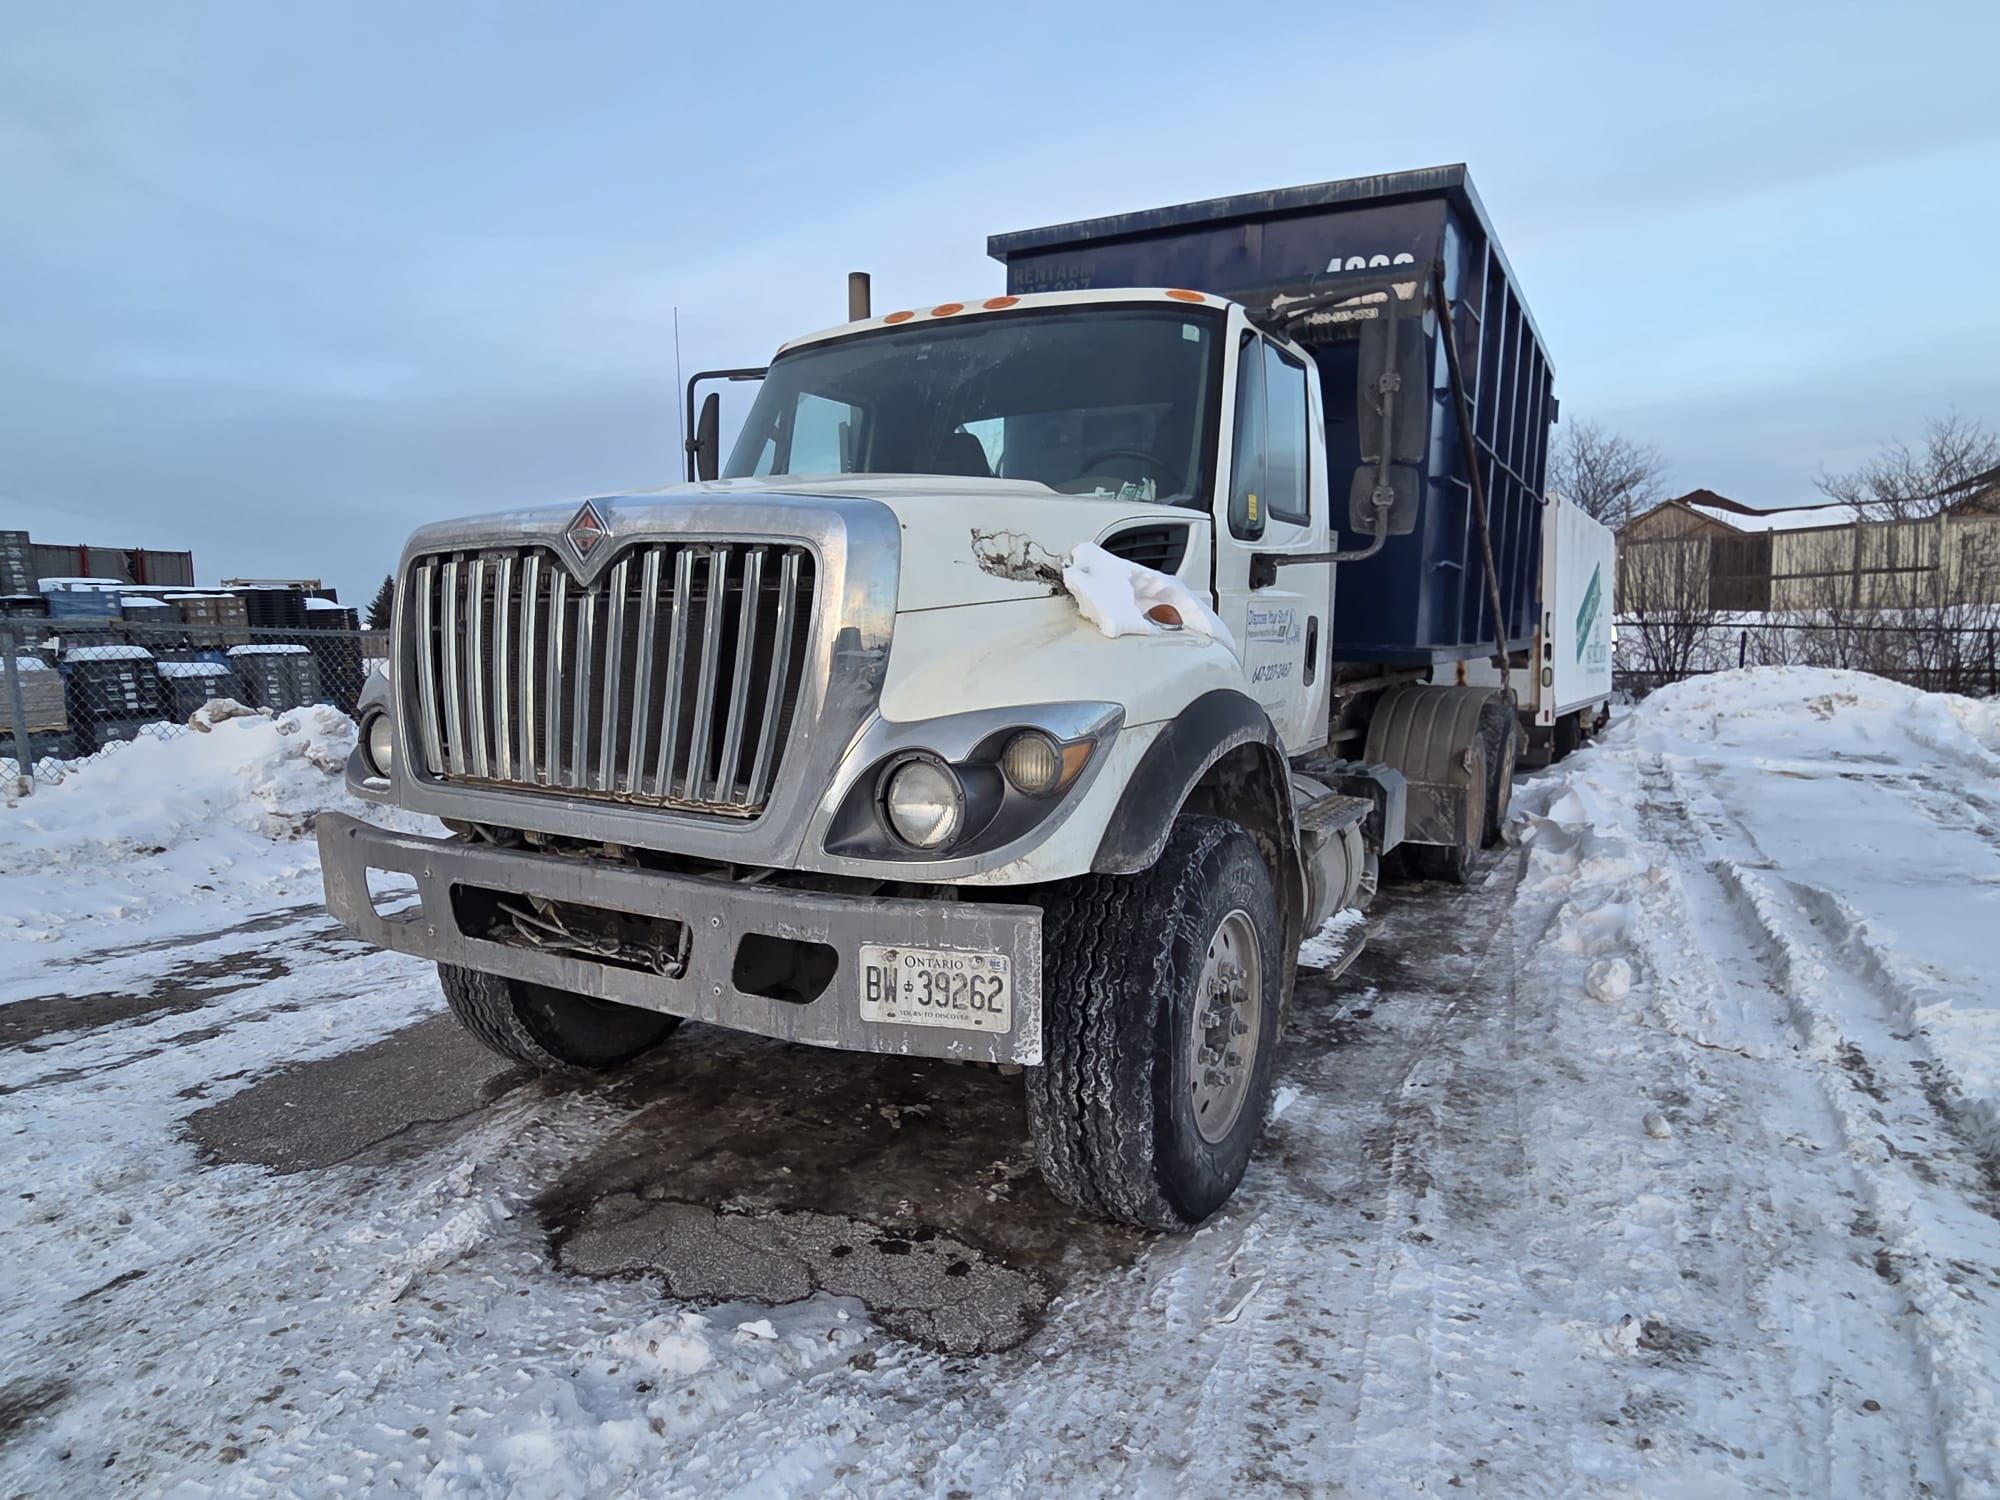
- Blocking Access: Ensure the area where you want the bin placed is clear of cars, snow, or low-hanging branches. This ensures a smooth delivery.
Reclaim Your Space Today
A clean basement is more than just an organized storage area; it’s peace of mind. It’s the potential for a new home gym, a play area for the kids, or just a dry, safe place for your seasonal items. By following these steps and utilizing a reliable bin service, you can turn a daunting task into a manageable weekend project.
Whether you're in the heart of North York or the outskirts of Oakville, Bin4U.ca is here to make your disposal as easy as possible. We pride ourselves on being professional, punctual, and protective of your property.
Ready to start your basement transformation?
Don't let the clutter win another season. Get your cleanout moving with a reliable, driveway-safe bin delivered right when you need it.
Book Your Bin Online Now or Contact Us for a flat-rate quote. Let’s get that basement cleared!