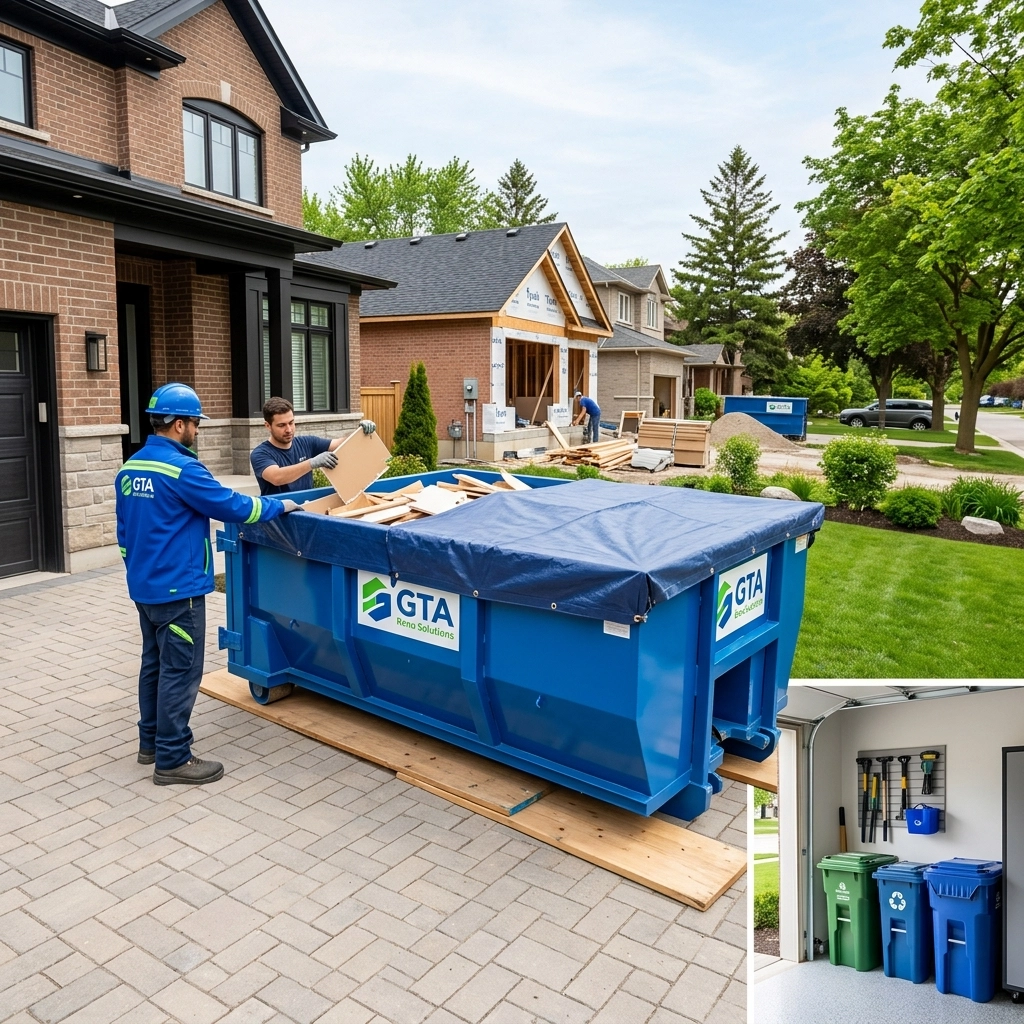
Hey there, GTA homeowners. I’m Jason, and in my years as a Real Estate Agent, I’ve seen the good, the bad, and the very messy sides of home renovations. Whether you’re flipping a semi in North York or finally updating that kitchen in Etobicoke, there is one thing every project has in common: a mountain of debris.
Most people spend months picking out tiles and paint colours, but they spend about five minutes thinking about where the old ones will go. Trust me, "winging it" with your waste management is a recipe for a stressed-out neighbour and a damaged driveway.
In this guide, I’m going to share some expert advice on how to coordinate your GTA home reno disposal so your project stays on track, on budget, and out of the way.
Phase 1: Planning Your Disposal Timeline
A successful renovation isn’t just about the build; it’s about the flow of materials. If your debris isn’t leaving the site as fast as it’s being created, your contractors will be tripping over drywall scraps instead of installing your new vanity.
You should aim to have your disposal plan locked in at least two weeks before the first sledgehammer swings. This gives you time to assess the volume of waste and ensure you have a spot cleared on your property for a bin.
If you are working in a tight space, like many North York or downtown Toronto properties, timing is everything. You don't want a bin sitting idle for three days before demolition starts, taking up valuable parking space. Conversely, you don't want a pile of debris sitting on your lawn for a week because you forgot to book the pickup.
The "Goldilocks" Bin: Why We Recommend the 14-Yard Option
When it comes to GTA home reno disposal, size matters. If the bin is too small, you’re paying for multiple pickups and deliveries. If it’s too large, you’re paying for space you aren’t using, and it might not even fit on your driveway.
For the average GTA home renovation: think a full kitchen gut, a bathroom overhaul, or a basement refresh: we almost always recommend the 14-yard bin.
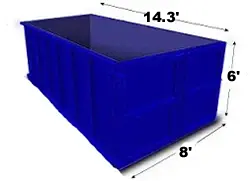
At approximately 14.3’ x 8’ x 6’, this bin is the "Goldilocks" of the waste world. It is large enough to handle bulky items like cabinets, flooring, and studs, but its footprint is manageable for most residential driveways. It’s also deep enough to hold a significant amount of light debris without overflowing, which is a common issue with smaller 4-yard or 10-yard bins during the "messy" phase of a project.

North York Bin Rental Tips: Navigating the Local Rules
If you’re doing a project in North York, there are a few specific things to keep in mind. Between narrow side streets and strict parking enforcement, logistics can get tricky. Here are a few North York bin rental tips to keep your project moving:
- Check Your Permits: If the bin needs to sit on the street because your driveway is too small (or you’re getting it repaved), you will likely need a street occupation permit from the City of Toronto.
- Clear the Path: On delivery day, make sure there are no cars parked on the street that would prevent a large roll-off truck from backing into your driveway.
- Mind the Overhang: North York is known for its beautiful, mature trees. When choosing a spot for your bin, look up. Ensure there aren't low-hanging branches that the truck’s lift mechanism might snag.
- Winter Considerations: If you are renovating in the colder months, ensure your driveway is salted and cleared of ice. A sliding truck is a dangerous truck.
For more information on specific areas we cover, you can check out our service areas page.
Phase 2: The Demolition Day Blitz
Demolition is the most intense period for waste. In a single day, you can generate 80% of the total project debris. This is when you want your 14-yard bin sitting ready and waiting.
To maximize your bin space, have your crew break down larger items. Flat-packing cardboard and cutting long pieces of lumber into smaller sections will prevent "air pockets" in the bin, allowing you to fit more in a single load.
Remember, safety is paramount. Keep the area around the bin clear of nails and sharp scraps. At Bin4U.ca, we pride ourselves on driveway-safe dumpsters, but it’s up to you to ensure the walk from the house to the bin is safe for your workers.
Protecting Your Property
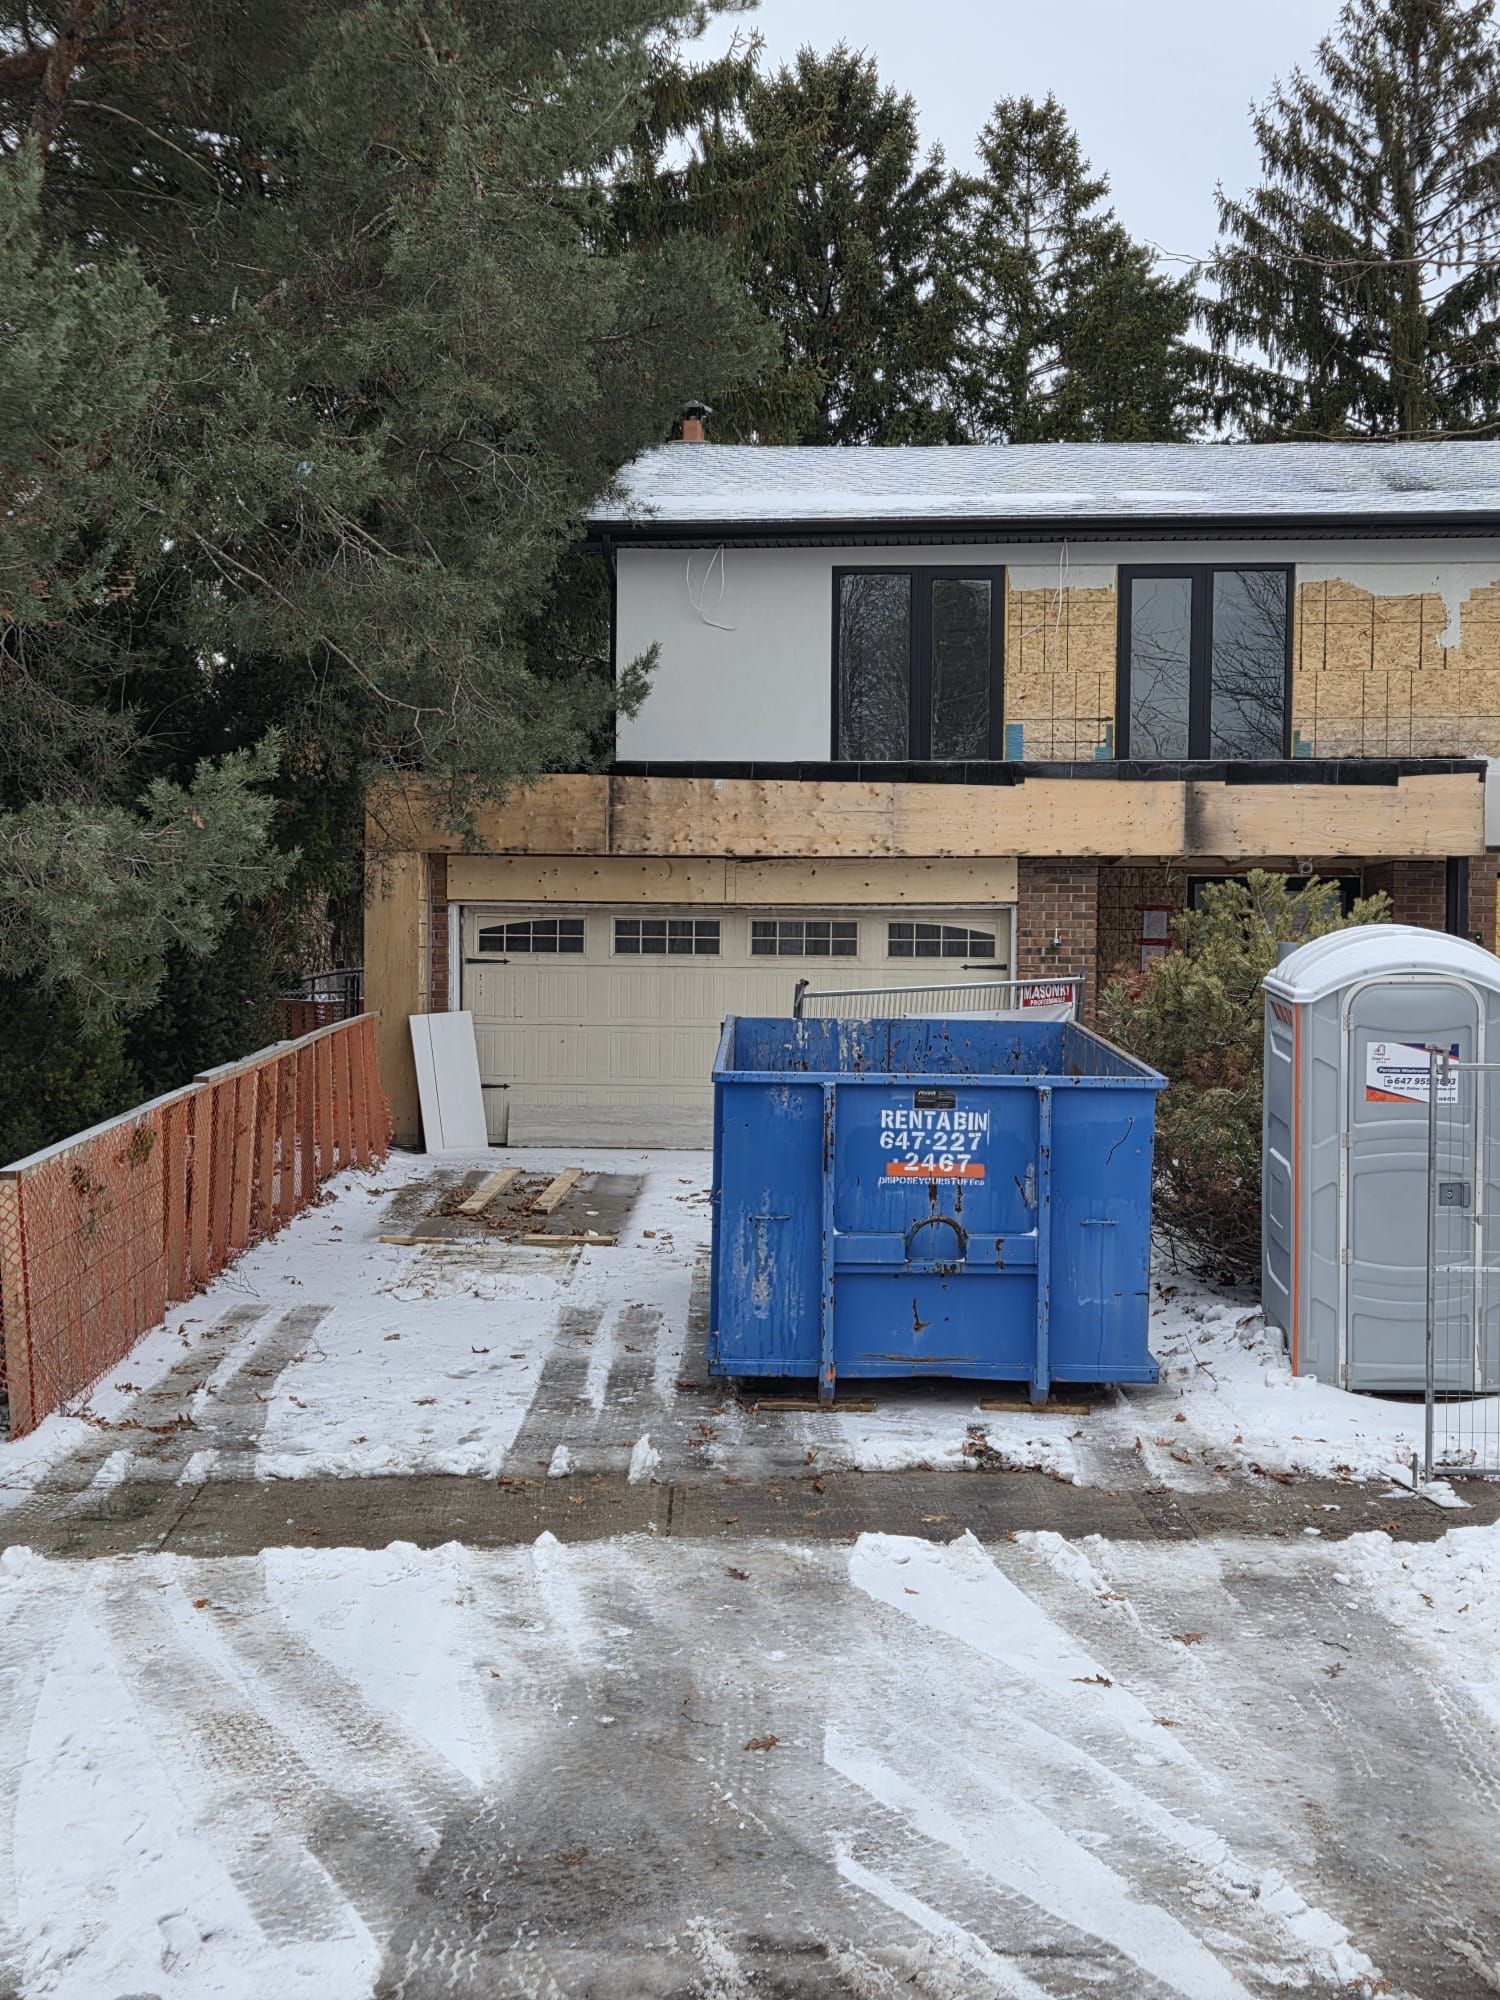
One of the biggest concerns my real estate clients have when renting a bin is the potential for driveway damage. It makes sense: you’re spending thousands to improve your home; you don’t want to end up with a cracked driveway.
A professional service will always use protective measures. This typically involves placing heavy-duty wooden planks or specialized pads under the rollers and feet of the bin. This distributes the weight and prevents the steel from gouging your asphalt or interlocking stone.
If you're worried about the weight of heavy materials like concrete or old plaster, it’s worth reading up on avoiding overweight fees. Knowing how to load your bin can save you a lot of money and protect your property at the same time.
Phase 3: The Build and "The Daily Tidy"
Once the "demo" is done and the new walls are going up, the type of waste changes. You’ll see more off-cuts of drywall, insulation, and packaging from your new appliances and fixtures.
While it might be tempting to have the bin hauled away as soon as the demo is done, I recommend keeping a bin on-site throughout the build. A clean site is a safe site. When debris piles up inside the house, it becomes a fire hazard and a tripping hazard for the tradespeople.
If your 14-yard bin was filled during demo, have it swapped for a fresh one for the construction phase. You can check our pricing to factor these swaps into your renovation budget.
Environmental Responsibility: Sorting Your Debris
In the GTA, we are lucky to have robust recycling systems, but they only work if we do our part. While a "mixed waste" bin is convenient for most renos, being mindful of what you throw away is important.
- Metal: Copper pipes, old ductwork, and steel studs are highly recyclable.
- Cardboard: Renos generate a massive amount of cardboard from new cabinets and appliances. Flatten these to save space.
- Hazardous Waste: Never put paints, chemicals, batteries, or asbestos-containing materials in a standard rental bin. These require specialized disposal to protect our local GTA environment.
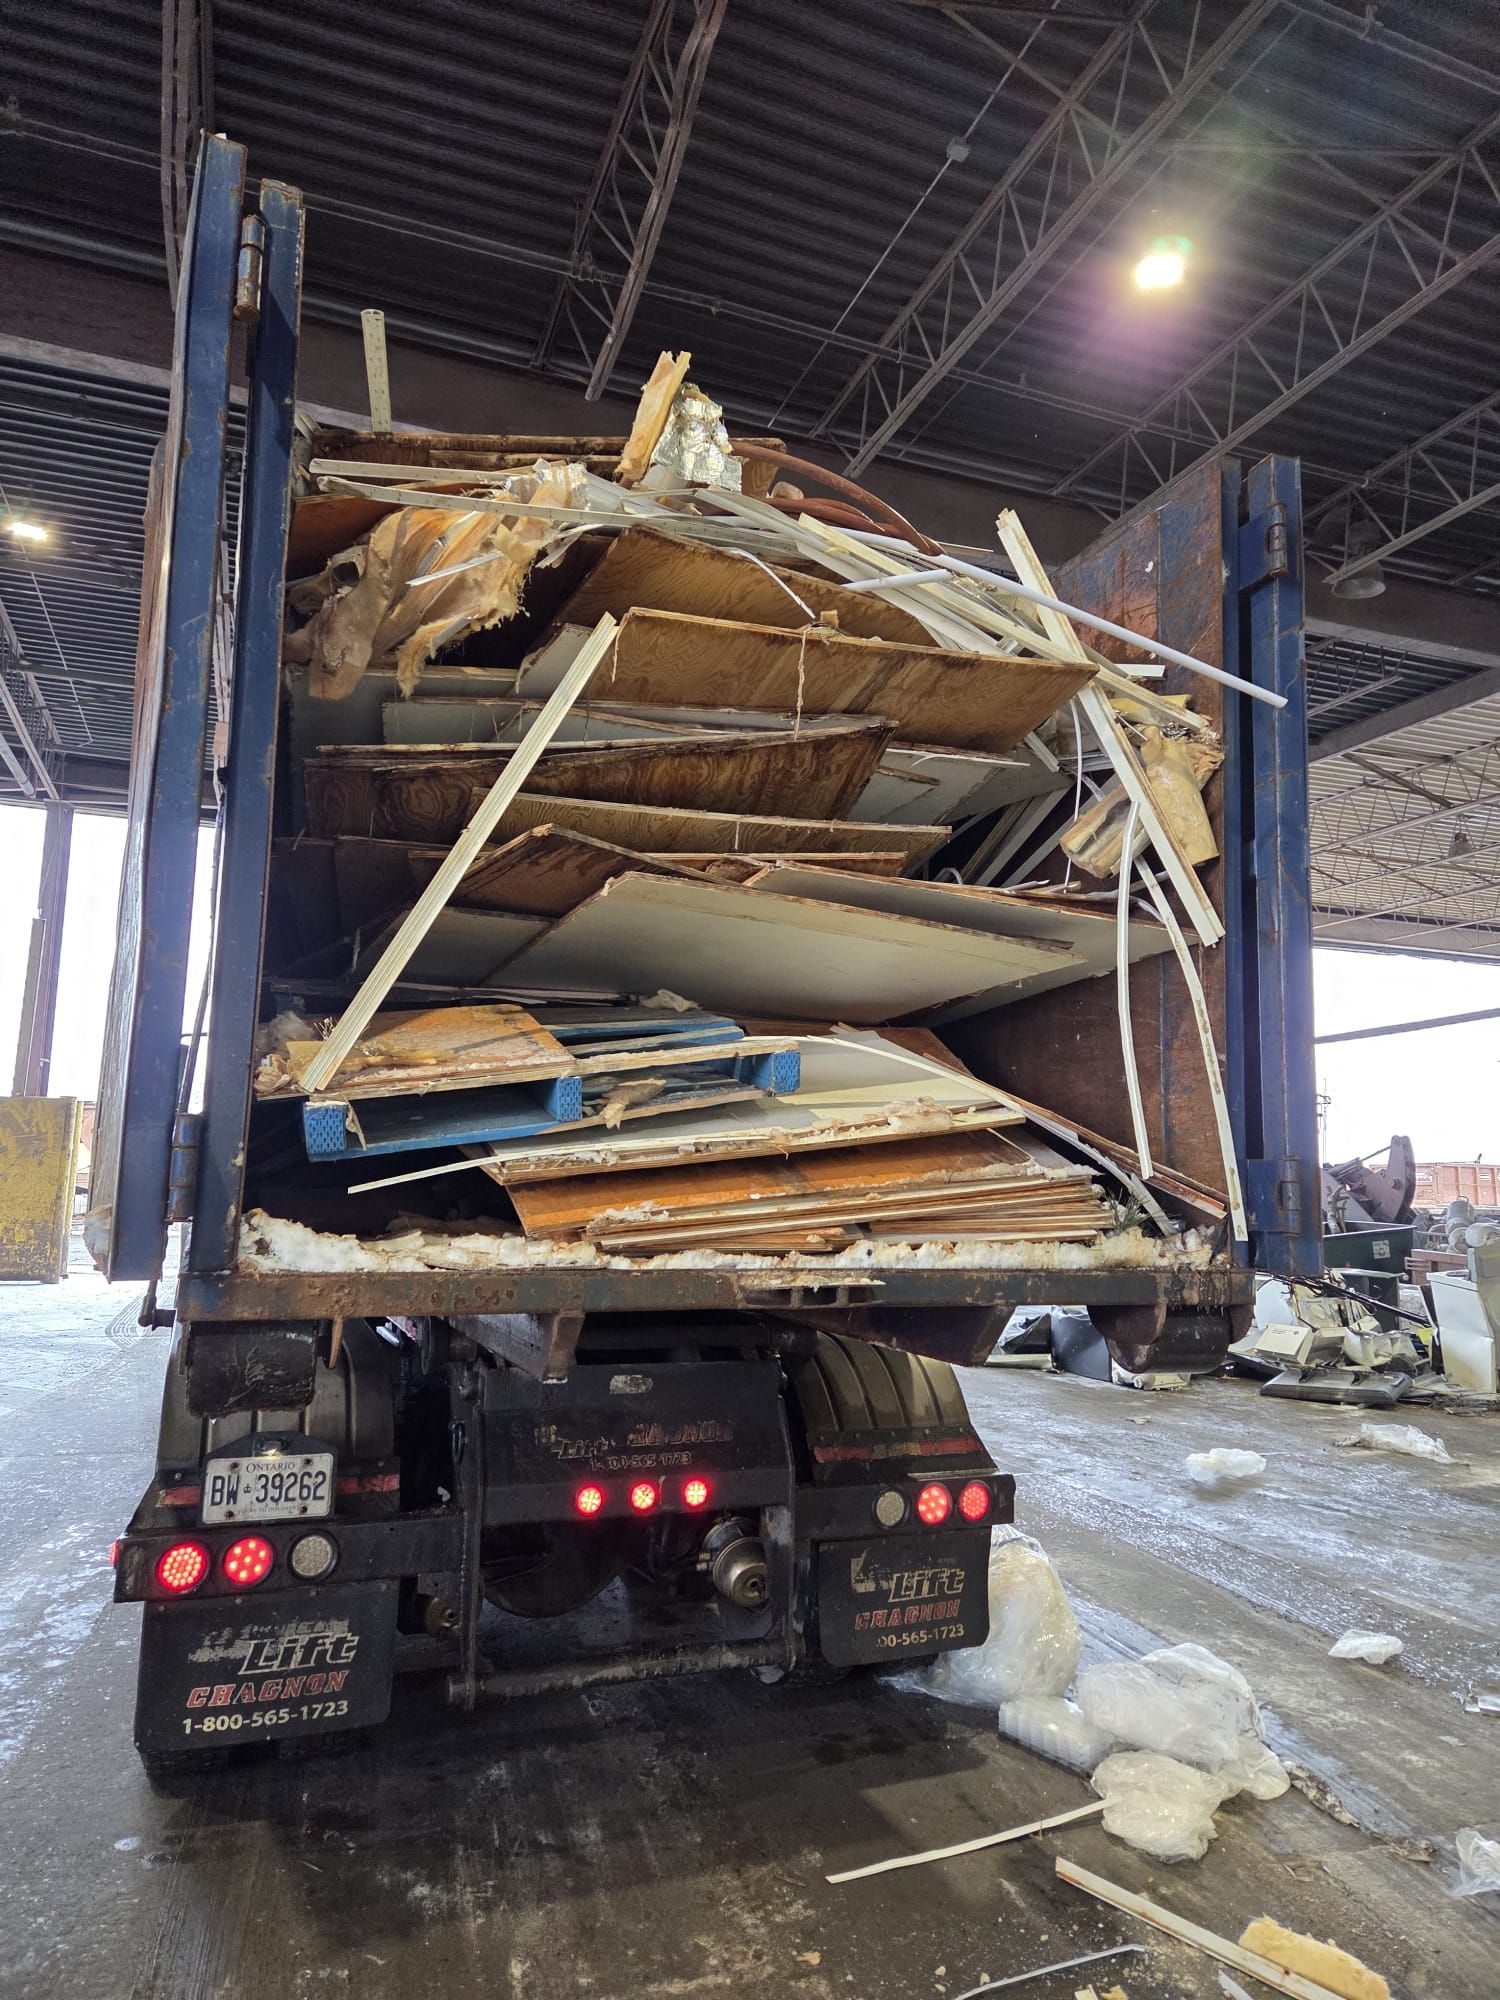
Professional waste management ensures that your debris is taken to a licensed transfer station where materials are sorted and diverted from landfills whenever possible. You can learn more about our commitment to professional service on our about us page.
Post-Construction Cleanup
The "finish" phase is the most satisfying part of any GTA home reno. The painters are done, the light fixtures are in, and you’re ready to move the furniture back. But before you do, there is the matter of the "fine dust" and the final scraps.
This is the time for a final bin pickup. Once the bin is gone, you’ll likely need a deep clean to remove the fine construction dust that settles on every surface. It's often helpful to hire a professional post-construction cleaning crew for this final step, as they have the HEPA vacuums needed to actually remove the dust rather than just moving it around.
Final Thoughts from Jason
Planning a renovation is a major undertaking. It’s an investment in your lifestyle and your property value. Don't let the "boring" part: the trash: derail your experience. By choosing the right bin size (usually that trusty 14-yarder), protecting your driveway, and coordinating your timeline with a reliable local partner, you can focus on the exciting stuff.
If you’re ready to get started on your next project, or if you just have questions about which bin size is right for your North York or GTA home, we’re here to help.
Ready to Clear the Way for Your Dream Home?
Don't let renovation debris pile up and slow you down. Whether you're in the middle of a demo or just starting to plan, we have the right bin for your project.
Click here to book your 14-yard bin online or contact us today for a custom quote. Let's get that debris out of your way!