There is nothing quite like the feeling of stepping out onto a brand-new, cedar-scented deck in the middle of a Toronto summer. But before you can enjoy those backyard BBQs and sunset drinks, you have to deal with the grey, splintering eyesore that is currently taking up space. Taking on a DIY deck removal is a fantastic way to save on labour costs and get your property ready for its next chapter, but many GTA homeowners underestimate just how much debris a single deck produces.
From pressure-treated lumber to rusted nails and heavy concrete footings, managing deck removal waste in the GTA requires a solid plan. At Bin4U.ca, we have seen plenty of DIY projects start with enthusiasm and end with a driveway blocked by a mountain of old wood. This guide will walk you through the demolition process and show you how to manage your wood waste safely and efficiently.
Why Tackle a Deck Removal Yourself?
Choosing the DIY route for deck demolition can save you hundreds, if not thousands, of dollars in professional labour fees. Most of the work involves "un-building": the reverse of construction. It is a satisfying project that requires basic tools and a bit of elbow grease. However, the real challenge isn't the demolition itself; it is the disposal.
A standard 12×12 deck can easily generate enough waste to fill several pickup trucks. Instead of spending your entire weekend driving back and forth to a transfer station in North York or Vaughan, a dedicated wood disposal bin allows you to focus on the work while we handle the heavy lifting of the haulage.
Preparation: The Secret to a Stress-Free Demolition
Before you pick up a sledgehammer, you need a plan. Rushing into a demolition without preparation can lead to damaged siding, punctured gas lines, or personal injury.
1. Check for Utilities
Decks often house more than just wood. Check for outdoor electrical outlets, gas lines for BBQs, or water lines for outdoor kitchens. Ensure all utilities are disconnected and capped by a professional before you start. If you are unsure about underground lines near your footings, contact Ontario One Call.
2. Identify Your Materials (The CCA Factor)
If your deck was built before 2004, it likely contains Chromated Copper Arsenate (CCA). This chemical was used to preserve pressure-treated wood but is now recognized as hazardous. CCA wood cannot be burned and often requires special handling at GTA waste facilities. When searching for a wood disposal bin in North York, it is important to let your provider know if you suspect you are dealing with older treated lumber so they can guide you on the best disposal practices.
3. Gather Your Tools
You don’t need an industrial wrecking crew, but you do need the right gear:
- A Sawzall (reciprocating saw) with heavy-duty demolition blades.
- A 4-foot pry bar (often called a "wrecking bar").
- A sledgehammer for stubborn joists and concrete footings.
- Personal Protective Equipment (PPE): Impact-resistant gloves, safety goggles, and steel-toed boots are non-negotiable.
The Step-by-Step Guide to Deck Demolition
To keep the site safe and the waste manageable, follow a systematic "top-down" approach.
Step 1: Remove the Railings and Stairs
Start by unscrewing or prying away the railings. If you plan to reuse any hardware or decorative post caps, set them aside in a bucket. Once the railings are gone, tackle the stairs. These are often the heaviest individual components, so use your Sawzall to cut them into manageable sections.
Step 2: Strip the Deck Boards
This is where the bulk of your wood waste comes from. Use your pry bar to lift the boards away from the joists. If the screws are rusted and won't budge, don't waste time: use the reciprocating saw to cut the boards right along the joist line.
Pro Tip: Cut your deck boards into 4-foot lengths as you go. This makes them much easier to stack inside your roll-off bin rental in North York and ensures you maximize the space in the container.
Step 3: Dismantle the Joists and Rim Joist
With the surface boards gone, the skeleton of the deck is exposed. Use your sledgehammer to knock the joists loose from their hangers. If they are nailed in, the pry bar will be your best friend. Be careful when removing the rim joist: the board that runs around the perimeter: as it provides stability to the entire structure.
Step 4: The Ledger Board
The ledger board is the piece of lumber bolted directly to your house. This is the most delicate part of the DIY deck removal. Carefully unscrew the lag bolts and ensure you don't damage your home’s siding or the flashing. Once the ledger is off, inspect the area for any signs of water damage or rot that might need to be addressed before the new deck goes up.

Managing Your Wood Waste in the GTA
Once the deck is on the ground, you are left with a massive pile of debris. In the GTA, you can't simply leave this at the curb for regular garbage collection. Most municipalities have strict limits on the size and weight of wood waste they will accept, and treated lumber is often excluded entirely.
Choosing the Right Bin Size
At Bin4U.ca, we typically recommend two sizes for deck removals:
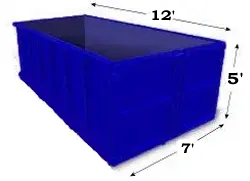
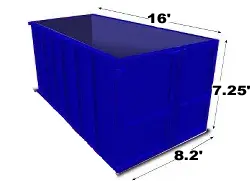
- The 14-Yard Bin: Perfect for small to mid-sized decks (up to approximately 200–250 square feet). It is compact enough to fit in most driveways in Etobicoke or North York while still providing ample room for bulky joists. You can see an example of this size here.
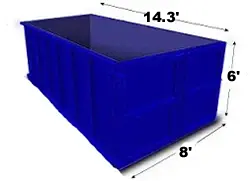
- The 20-Yard Bin: If you are tearing down a multi-level deck or a large wraparound structure, the 20-yard bin is the way to go. It offers the extra height needed to handle large volumes of wood without the risk of overfilling.
Using a professional bin rental is often more cost-effective than multiple trips to the dump when you factor in gas, disposal fees, and the value of your time. If you are worried about the weight of your debris, check out our guide on avoiding overweight fees in the GTA.
Protecting Your Property
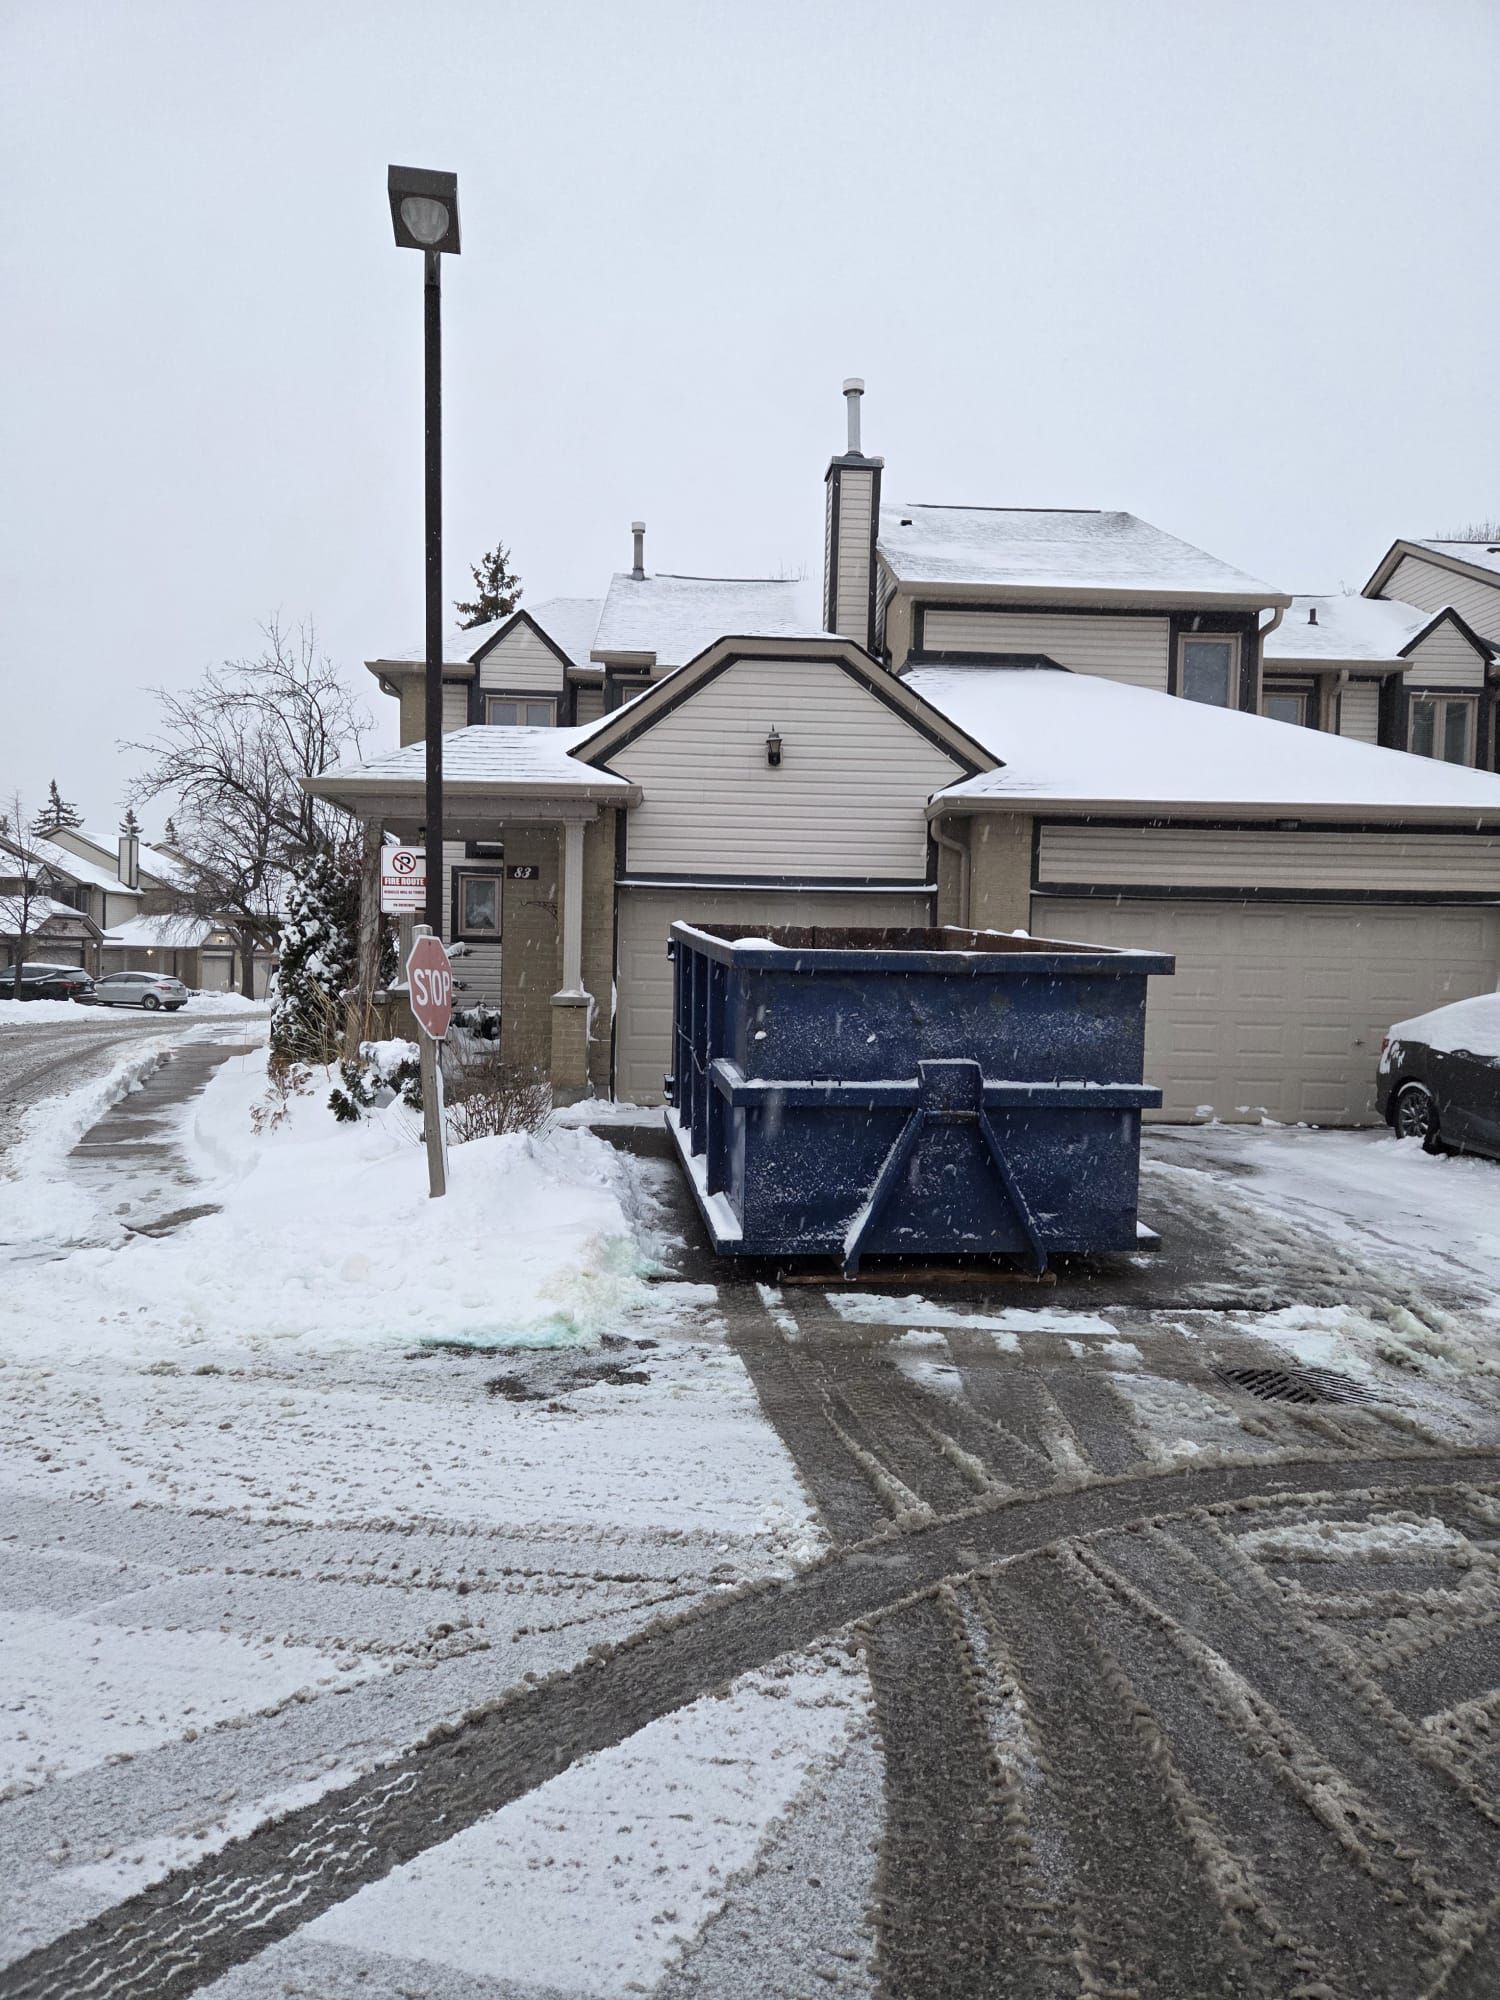
One of the biggest concerns homeowners have when renting a bin for deck removal waste in the GTA is the potential for driveway damage. Old wood is heavy, and the bins themselves are made of heavy-duty steel.
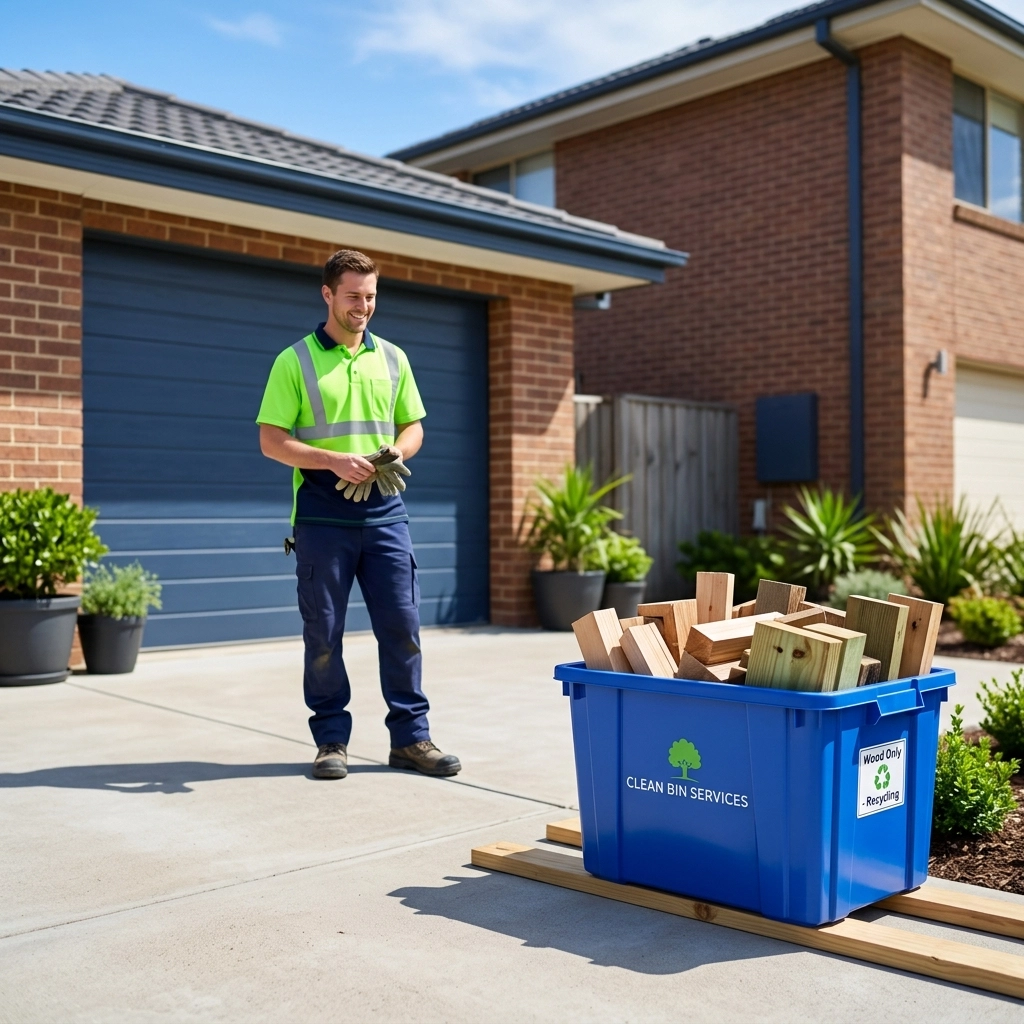
At Bin4U.ca, we take property protection seriously. We use a "driveway-safe" delivery method, placing protective wooden planks beneath the bin to ensure the weight is distributed evenly and your asphalt or interlocking stone remains pristine. This is especially important during the spring or winter when the ground may be softer. For more on how we protect your home, read about our driveway-safe dumpsters for GTA homeowners.
Sorting for Savings and Sustainability
While it might be tempting to throw everything into the bin in one big mess, a little bit of sorting can go a long way.
- Metal Recycling: Pull out large metal brackets, hangers, and bolts. If you have a significant amount of metal, it can often be recycled separately.
- Concrete Disposal: If you are digging up concrete footings (sonotubes), keep in mind that concrete is much heavier than wood. If your project involves a lot of concrete, you might need a separate, smaller bin designed for heavy clean-fill to avoid exceeding weight limits. You can learn more about managing heavy construction debris to see which option fits your footings.
- Green Waste: If your deck removal is part of a larger backyard overhaul, remember that spring landscaping waste like soil and branches should generally be kept separate from construction lumber.
Why North York Homeowners Trust Bin4U.ca
Whether you are in a quiet neighbourhood in North York or a busy street in Mississauga, we understand the local regulations and the logistical challenges of GTA residential projects. We pride ourselves on being a helpful neighbour in the waste management business. Our goal is to make your DIY project feel less like a chore and more like an accomplishment.
We offer:
- Transparent Pricing: No hidden fees: you’ll know exactly what you’re paying for.
- Reliable Timing: We drop off and pick up when we say we will, so your project stays on schedule.
- Expert Advice: Not sure if you need a 14-yard or 20-yard bin? Our team is a phone call away to help you size your waste correctly.
Ready to Clear the Way for Your New Deck?
Tearing down an old deck is a big job, but with the right tools and a smart waste management plan, it is a project any GTA homeowner can handle. Don't let a pile of old lumber sit in your backyard for weeks, becoming a home for pests and a hazard for your family.
Clear the space safely and quickly with a professional bin rental. Whether you need a small container for a balcony tear-out or a large wood disposal bin in North York for a major renovation, Bin4U.ca has the equipment and the expertise to help you get the job done right.
Contact Bin4U.ca today to book your bin and take the first step toward your beautiful new outdoor living space!